If you wash your clothes with a dry cleaner and they take longer to dry as usual, then this is the right time to consider dryer vent cleaning. This will improve the efficiency of your dry cleaner as well as reduce the risk of clogging. If possible, clean it at an interval of six to twelve months.
However, knowing when to clean your vents and understanding how to go about dryer vent cleaning are two different things. This Comfort Clean guides you on how to do it. Take a peek.
1. Turn Off And Unplug Dryer
To begin with, plug off the dryer from the power socket. Note that, in case yours is a gas dryer, it is always wise to switch it off first before starting dryer vent cleaning.
2. Pull Out Dryer And Remove Vent Clamp
Gently, pull away the dryer to access the vent duct for cleaning. Then, twist the clamp holding the vent pipe towards the wall opening. If it is tight, use a screwdriver in detaching the clamp. Now it is time to check on the vent pipe if it has cracks or deteriorated. See whether there’s a need to replace it.
3. Check For Clogs In Vent And Remove
Inspect the vent and remove any clogs if any. You can reach them out with your hands. Note that you should be careful of sharp objects. Meanwhile, you can wear gloves for adequate protection. For further vent cleaning, you might be forced to look for a dryer vent cleaner since it can hardly puncture the vent. Remember to clean the vent tube as well as other components that you disconnected.
4. Use Vacuum To Remove Debris From Lent
Regarding the depth of the lent, hands may not be effective enough for dryer vent cleaning. Instead, use a vacuum and extract lint as well as debris from the deep part of the lint.
5. Remove Clogs From Exterior Vent
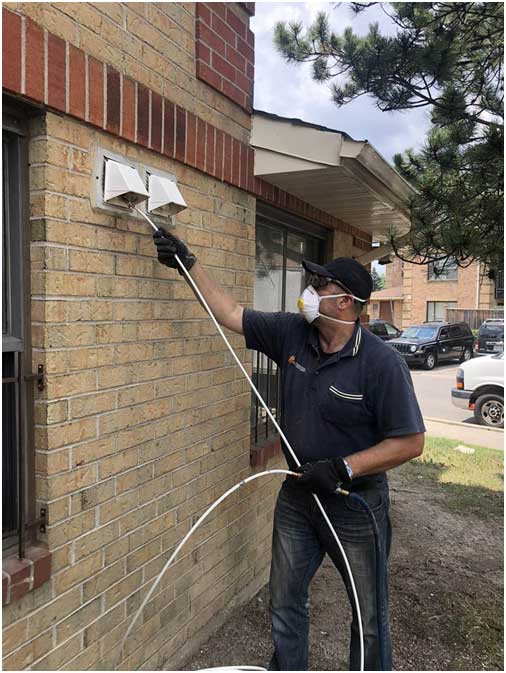
Now it’s the right time to look at the exterior part of the vent. Most importantly, look whether some plants have germinated at the opening of the vent or in case there is any object obstructing fresh air. See whether there are bats or even birds nesting around it, or some insects and rodents breading there. It is wise to think of a ventilation cover for a prolonged solution.
6. Check For Objects Obstructing Exterior Vent
The inspection intensifies here. While outside your home, look closely around the wall closest. In case your exterior vent is covered with a flap, raise it to get access to its inner part. Ensure you have your gloves with you to avoid being injured by sharp objects. Now, try to remove the accessible debris. If need be, apply the use of vacuum or any other cleaning tool to remove the debris and clean the deep part of it.
7. Reattach Vent To Dryer
Now get into the house, fix back the vent to the dryer. Ensure you fix the clamp tightly. Sweep the fallen debris on the floor after the dryer vent cleaning.
8. Turn Power And Dryer On
Now you can switch on the power button to put on the dryer. Allow it to run for a while and then see if there is some debris loosening. You can put off the dryer again after three minutes. Move out to see the exterior part of the vent if some debris has appeared after allowing in some air. If any, get back your cleaning tools and varnish it.
With the above steps followed and executed regularly, say after 6 to 12 months, you can guarantee a longer life span of your dry cleaner with good efficiency. On average, your dryer should work for 8 to 12 hours. In case you realize some malfunctions, then the above steps will help you get rid of the dirt from the dryer vents, and it will work as expected. However, always ensure you have a warranty for your dryer.


